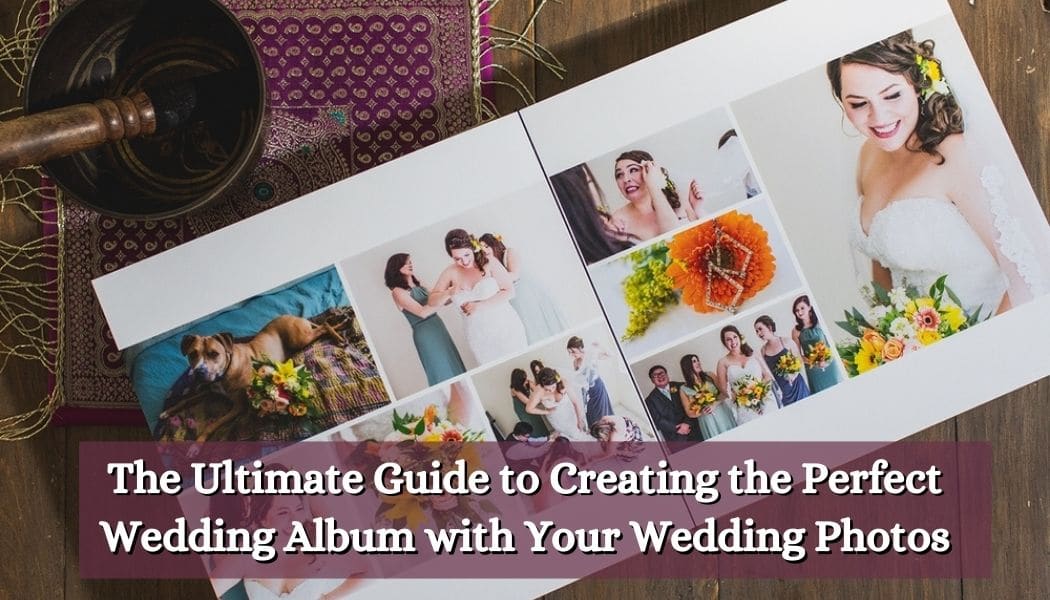
Once you get your photos back, you shouldn’t leave them to gather dust in a box or cupboard. Instead, these precious memories need to be displayed in a beautiful keepsake, like a photo album.
But now we have another problem to solve: how can you create the perfect photo album?
Choosing the best way to display your photos can be daunting with so many options. In this article, we’ll help you create the album of your dreams within your budget. Then, we’ll show you how to lay your spreads in a way that instantly takes you and your readers back to your wedding day.
Table of Contents
Why do you Need a Photo Album?
Our wedding day is important to us, but our wedding photos often play second fiddle to our big day. This makes sense at first. After all, you only get to attend your wedding once. But if you ignore your wedding photos, you won’t be able to relive the experience truly.
There are so many important milestones that happen at your wedding. Each moment can’t be encapsulated without your photographer, from the vows exchanged to the honeymoon.
A wedding album can keep these critical moments organized, but so can other formats. So is there a reason we should keep our photos in an album specifically? Yes, and here’s why:
- Wedding Albums are Flexible: Unlike a traditional photo album with plastic sleeves, you can display your photos anywhere on the page and edit them in any way you like.
- Wedding Albums are Easy to Make: If you aren’t tech-savvy, you can still create stunning wedding albums online by partnering with companies like Mixbook.
- Wedding Albums are Durable: Technology can stick around forever, but it often doesn’t. Physical albums can help you preserve your memories for a long time.
- Wedding Albums are Customizable: Depending on your budget, you can get an album made of high-quality leather, textile, plastic, or paper created from durable cardstock.
- Wedding Albums are Replaceable: Once you’ve created your design, you can save your template and make more of the same without repeating the design process.
While you can opt for a different format, photo albums are timeless, traditional, and can lay flat since they’re compact. Perfect for small to medium-size weddings, photo albums can hold up to 64 board pages (or 32 spreads) and will give you enough space for all of your wedding snaps.
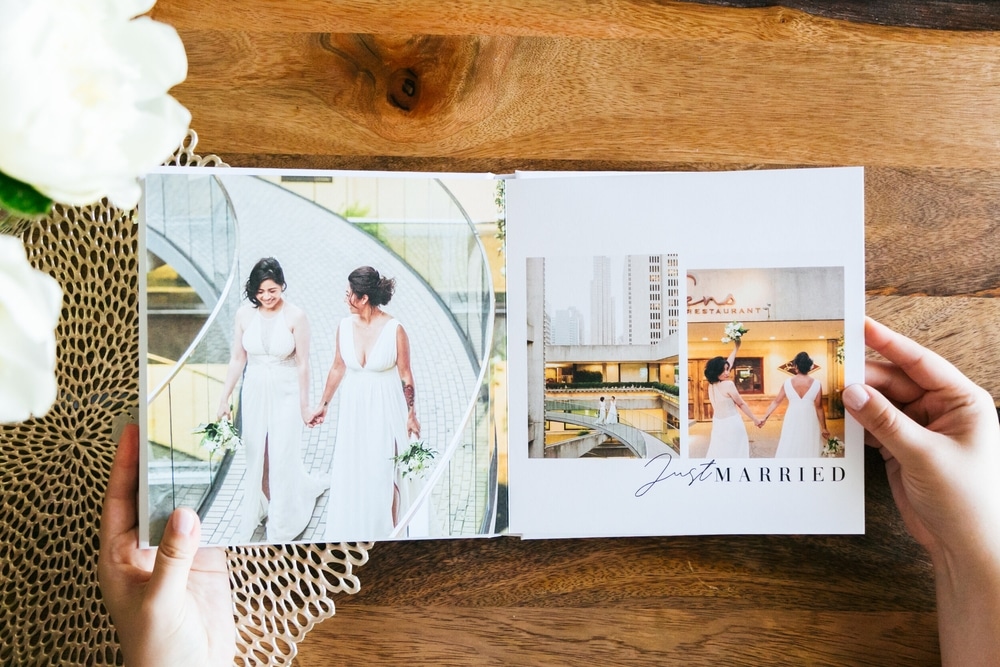
How to Create the Perfect Photo Album
All of the best photo albums tell a story, but your album will contain all the highlights, unlike a chapter book.
Here’s how you can create the best wedding photo album with your pictures.
Consider Your Options
Commissioning a wedding album from your photographer isn’t your only option. There are hundreds of printing companies and customized online album websites you can choose from. Or, if you’re good at designing, you can load up photoshop and make your album yourself.
Select and Organize Your Photos
Before you start designing your album, start with your favourite images. The images that will make you feel the most joy are the ones you love the most. Ignore how you’ll lay out your pages or spreads because you may fall back on what you “think” you should choose.
Include photos taken in both portrait and landscape, or include shots in colour and black and white. At this stage, you’ll start to see what your album will look like.
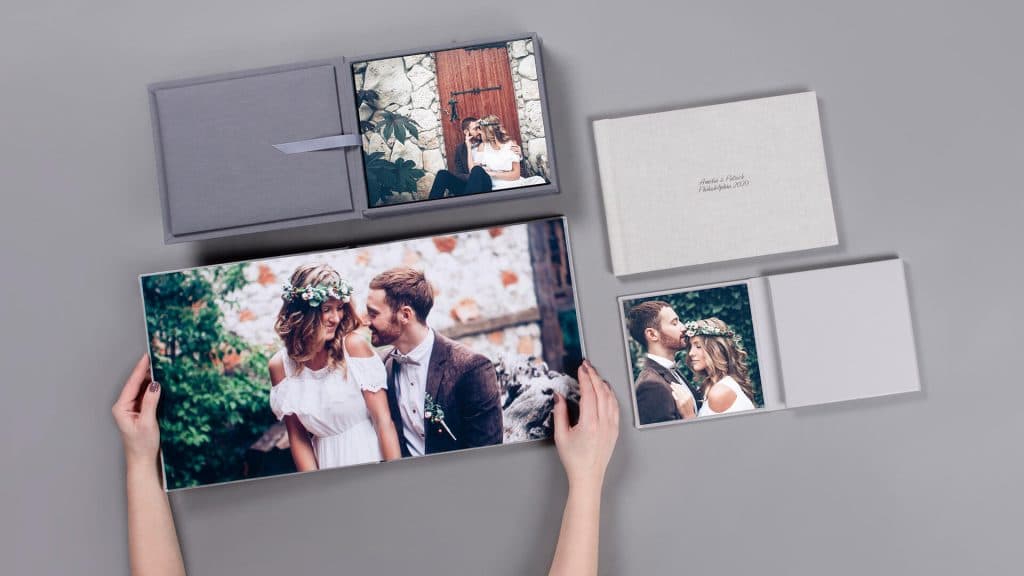
Check Image Quality and Size
Your photographer should have delivered your photos in a high-quality image format, but you can’t be too sure. First, check if the image is in the “TIFF” file format, as this format is the best for printing. Your image quality will suffer if you print with a JPEG or any other file format.
Next, make sure your photos are big enough to print at the resolution you want. For example, if you’re going to publish a 4 x 6 photo, it needs to be 2 megapixels (MP). To calculate MP, multiply the image’s height and weight. To find this info, right-click the image and select “properties.”
Album sizes can range from 6 x 8 at their smallest and 16 x 12 at their most significant, but you’ll want to use photos that look incredible at the largest size. This will give you more pictures to work with.
Coordinate Color, Style, and Text
Beneath the story of how the day unfolded lies other visual substories throughout your album. Your album’s colour, style, and tone should be considered when setting up your spreads. Luckily, you did most of this work when picking out your flowers, dress, and wedding theme.
Another aspect of album design is text. We recommend using the reader sparingly, as your photos should speak for themselves. You don’t have to fill up the entire page. Whitespace can make your images pop more, space out your pictures, or offer some variety in your spreads.
Choose an Album Cover and Page Texture
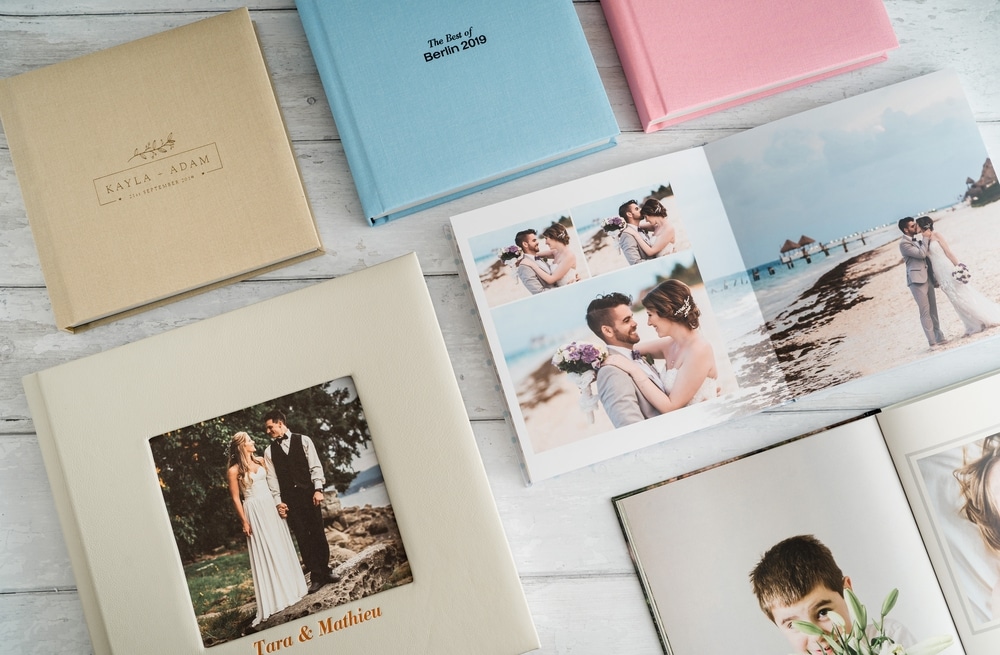
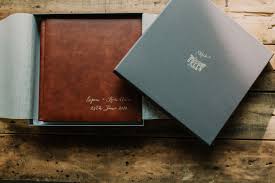
Physical album covers come in a variety of sizes and materials. Most online album companies offer premium leather, faux leather, plastic, or painted metal. You can also decide what photo you want to place on the front and what text to add, like your wedding date or last name.
If you want to combine both options, consider placing a photo in the middle of a luminescent, cotton, or leather cover. This way, your album is both durable, personable, and stylish.
You can also choose between glossy, lustre, or matte pages. Glossy is the most popular option, but refined lustre if you want to tone down the shininess without making the pages dull.
Layout Your Album Spreads
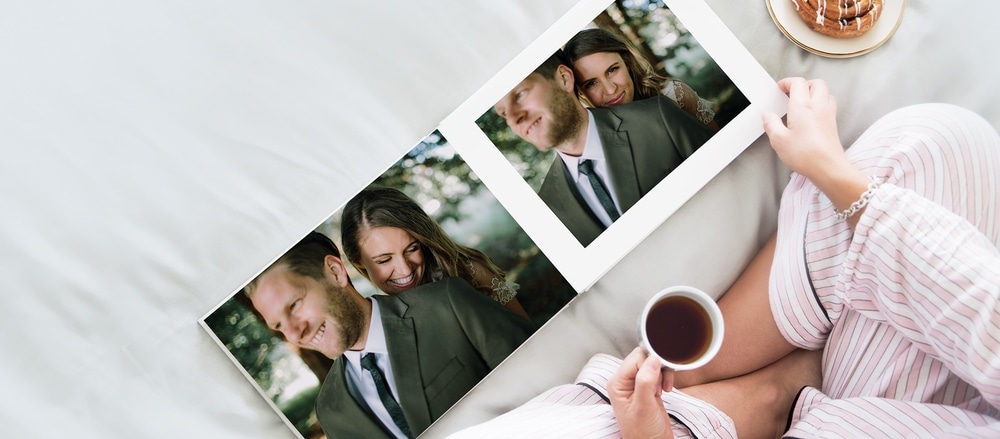
Most wedding photo albums present each moment in chronological order, starting with the morning of the wedding and ending with the parting shot or honeymoon on the last page.
The trick to a beautifully laid-out album is preparation. First, you need to physically layout each photo in your album one at a time before you can start to tweak the whole look and feel of the album.
Be sure to experiment with different-sized photos and page numbers. For example, the most emotional shots should take up a whole page, while multiple family photos, wedding party images, and venue snapshots could go on a single page. Again, consider the look of the spread, not just the one page.
When laying out your photos, be sure to pick out pictures that represent critical moments like:
- The Scene Setter: The first page should offer context for the rest of the book.
- What to Choose: Pictures of the venue, location, or couple.
- Behind the Scenes: The following pages should include photos of the party getting ready.
- What to Choose: The groom adjusting their tie or the bride putting on makeup.
- The First Look: The next pages must feature the couple seeing each other dressed up.
- What to Choose: Anything that shows the raw emotion of the moment.
- Trim Details: The following pages can show off the small details of the venue.
- What to Choose: Photos of venue flowers, chairs, or the chapel doors.
- Family Photos: The following pages are reserved for in-laws, parents, and family.
- What to Choose: Group shots of the family or family + a couple of photos.
- Wedding Party: The following pages should involve the rest of the wedding party.
- What to Choose: Photos of best friends and a group shot of the wedding party.
- Unexpected Shots: The following pages can include dramatic, unexpected moments.
- What to Choose: Anything that isn’t posed or planned but is very emotional.
- The Ceremony: The following pages should focus on the ceremony, but get creative.
- What to Choose: Add the kiss, walking down the aisle, and photos of guests.
- After the Reception: The following pages can include moments before the reception.
- What to Choose: Photos of guests, pre-party cocktails, hugging, and talking.
- Speech and Toast: The following pages must show the moments before the dance.
- What to Choose: Pictures of the speech, toast, and hilarious moments.
- Reception and Dance: The following pages must be dedicated to the whole reception.
- What to Choose: Photos of your first dance, guests, and guests dancing.
- Extra Page: If you have an extra page, throw in some of your favourite shots.
- What to Choose: Anything you couldn’t put in the last few pages/spreads.
- Parting Shot: The last page should be a parting shot of you and your spouse.
- What to Choose: Images of the couple hugging, kissing, or holding hands.
When you present your wedding photo album like the example above, you’ll effortlessly tell the story of your wedding day. However, there aren’t any rules for how you should lay out your photos. So if you want to describe an emotional journey rather than a chronological one, feel free!
Protect and Maintain Your Book
The best way to maintain your wedding album for years is by protecting it. Consider creating a custom, engraved wooden box that keeps dust and spills off of your heirloom to preserve your album. Also, always store your album at room temperature and away from humidity.
Summary: The Ultimate Guide to Creating the Perfect Wedding Album
- Selecting the Best Photos:
- Choose the best photos from your wedding day that capture the most significant moments, emotions, and details. Consider a mix of candid shots, portraits, and group photos.
- Organizing the Layout:
- Plan the layout of your wedding album by arranging the photos in a chronological order or a story-like sequence. Create a narrative flow that takes viewers through the day’s events.
- Choosing the Right Album Style:
- Select an album style that matches your personal taste and complements the overall theme of your wedding. Options include traditional, contemporary, or rustic albums with various cover materials and designs.
- Designing the Cover:
- Customize the cover of your wedding album with your names, wedding date, or a meaningful quote. Choose a cover material and color that reflects your wedding aesthetic.
- Designing the Pages:
- Design each page with care, paying attention to composition, balance, and visual appeal. Use a mix of full-page spreads, collages, and single-photo layouts to create variety and interest.
- Including Meaningful Details:
- Incorporate meaningful details into your wedding album, such as close-up shots of the rings, the invitation, or sentimental objects that played a special role in your day.
- Adding Captions or Text:
- Consider adding captions or text to provide context and tell the story behind the photos. Include names, locations, and memorable moments to enhance the narrative.
- Seeking Professional Assistance:
- If you’re not confident in your design skills, consider hiring a professional album designer who can bring your vision to life and ensure a polished and cohesive result.
- Reviewing and Editing:
- Review the album design thoroughly, checking for any inconsistencies, repetitions, or errors. Make necessary adjustments and seek feedback from friends or family before finalizing.
- Printing and Preservation:
- Choose a reputable printing service to ensure high-quality printing and longevity of your wedding album. Store it in a protective case or box to preserve its condition over time.
FAQ – Wedding Photo Album
Why should you order a wedding photo album?
A wedding photo album is a great way to display your love story, which you can share with your family and friends. They’ll last for several years if they’re made from high-quality materials.
How much do wedding photo albums cost?
The cost of a wedding photo album depends on the album’s quality and the number of pages. Low-quality wedding photo albums can cost $70-$100, while high-quality ones can range from $200 to $800. We recommend saving up for a $200-$300 photo album.
How many pictures should be in a wedding album?
Most wedding photo albums will include one-five photos per page, depending on the size and length of the pages. For example, if your book has 32 pages, your album should have 32 to 160 images.
Should I get a photographer to shoot my wedding photo album?
Yes. If you want to make a high-quality photo album with stunning photos, you should hire a wedding photographer. You should hire two. That way, you can have multiple shots of the exact moment. Having more options for your wedding photo album can only be good.


Unique blog